
You can create a Custom Assistant with a unique name and email address. You can then write to that assistant instead of the standard Skej email. This creates a more personalized assistant who only works for you.
Custom Assistants are available to Premium subscribers only. Upgrade today to set up your custom assistant.
Step 1: Create a new Gmail or Outlook account
Set up the desired email address, name, and avatar. These are controlled directly from Google/Microsoft. You can either name your assistant Skej or use any name you want.
You can leave Secondary email and Phone number blank. Once complete, click Add New User.
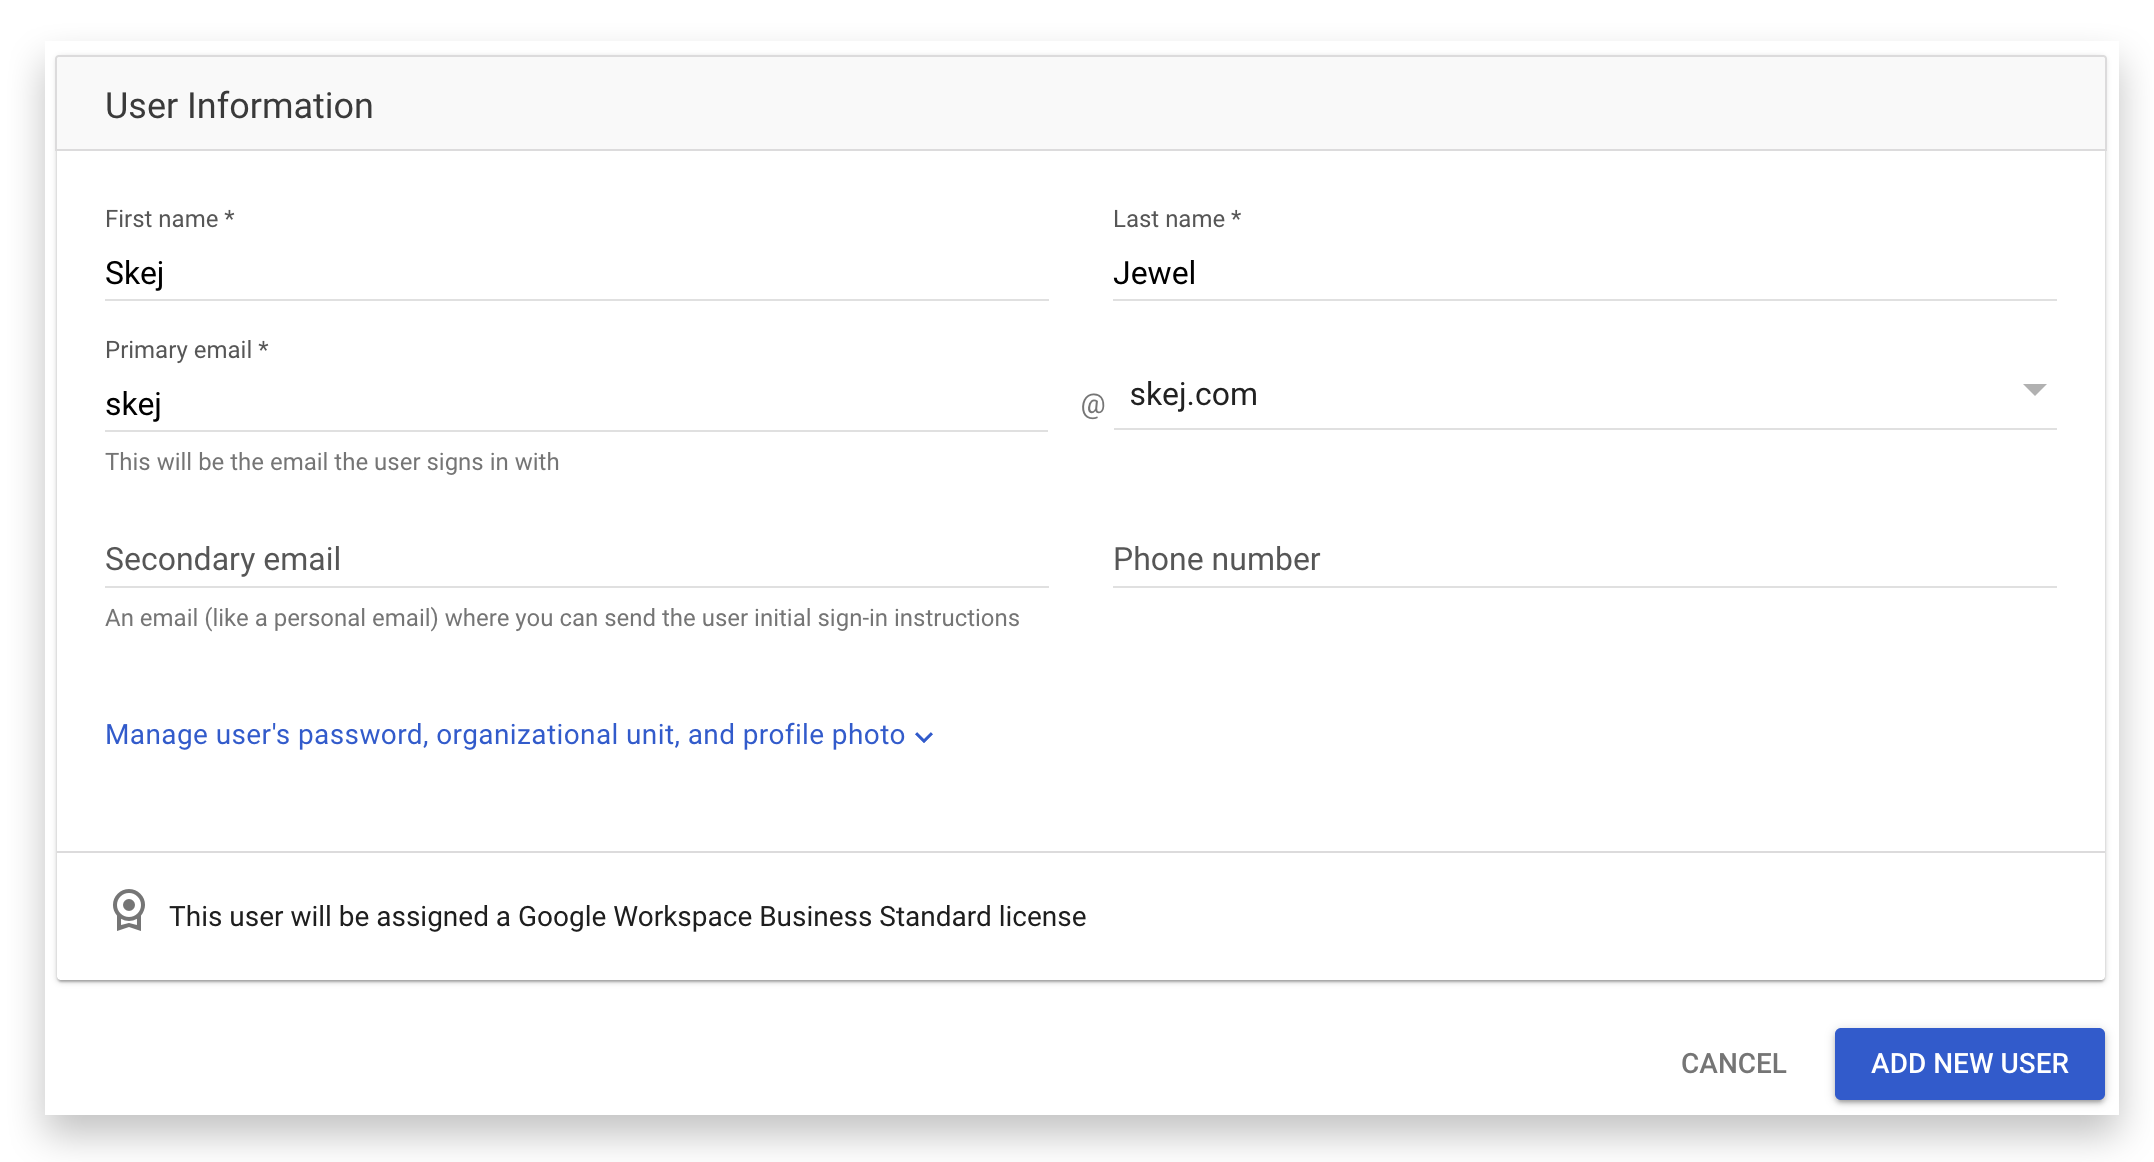
Use the generated password and store it somewhere safe like a password manager. At this point, this is just a new, normal blank email account.
Step 2: Add yourself and your team to the address book
This step is important. In order to prevent your messages from going to spam, you should add yourself and your Skej teammates to the address book of the new account. Go to your Contacts, click Create Contact, and then add Multiple Contacts.
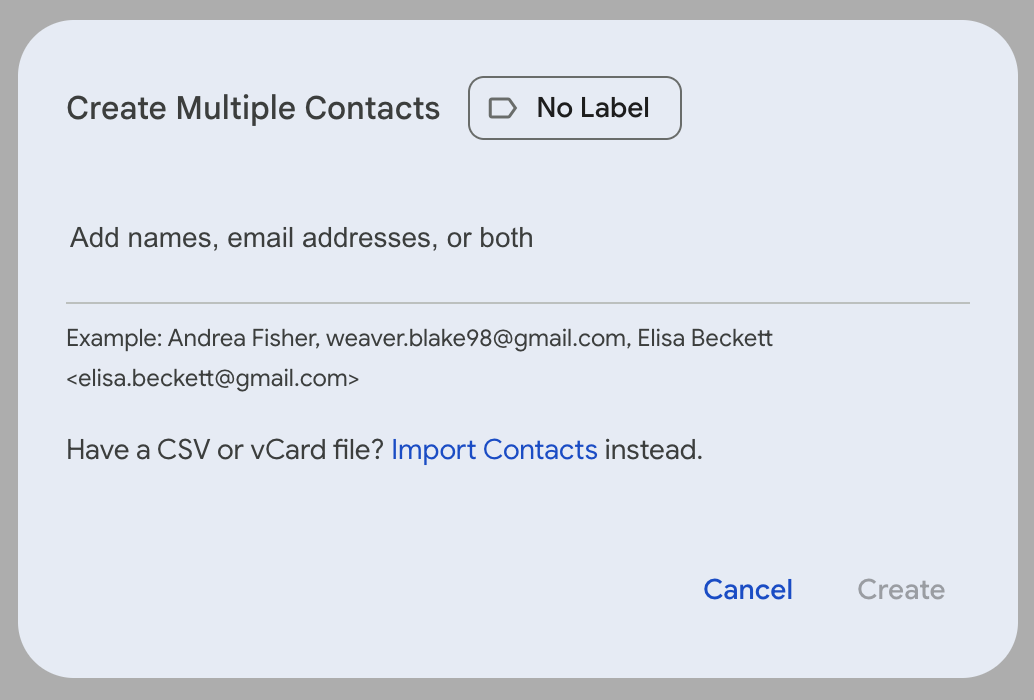
Add your email address, and the email addresses of your team either manually or as a CSV file. This ensures your new assistant knows to respond to you, and messages do not go to spam.
Step 3: Connect using OAuth in the Skej dashboard
Go to the Skej dashboard and click on Assistants in the left navigation bar, then click Create Assistant.
Step 4: Connect to your account
Click either Connect Gmail Inbox or Connect Outlook Inbox.
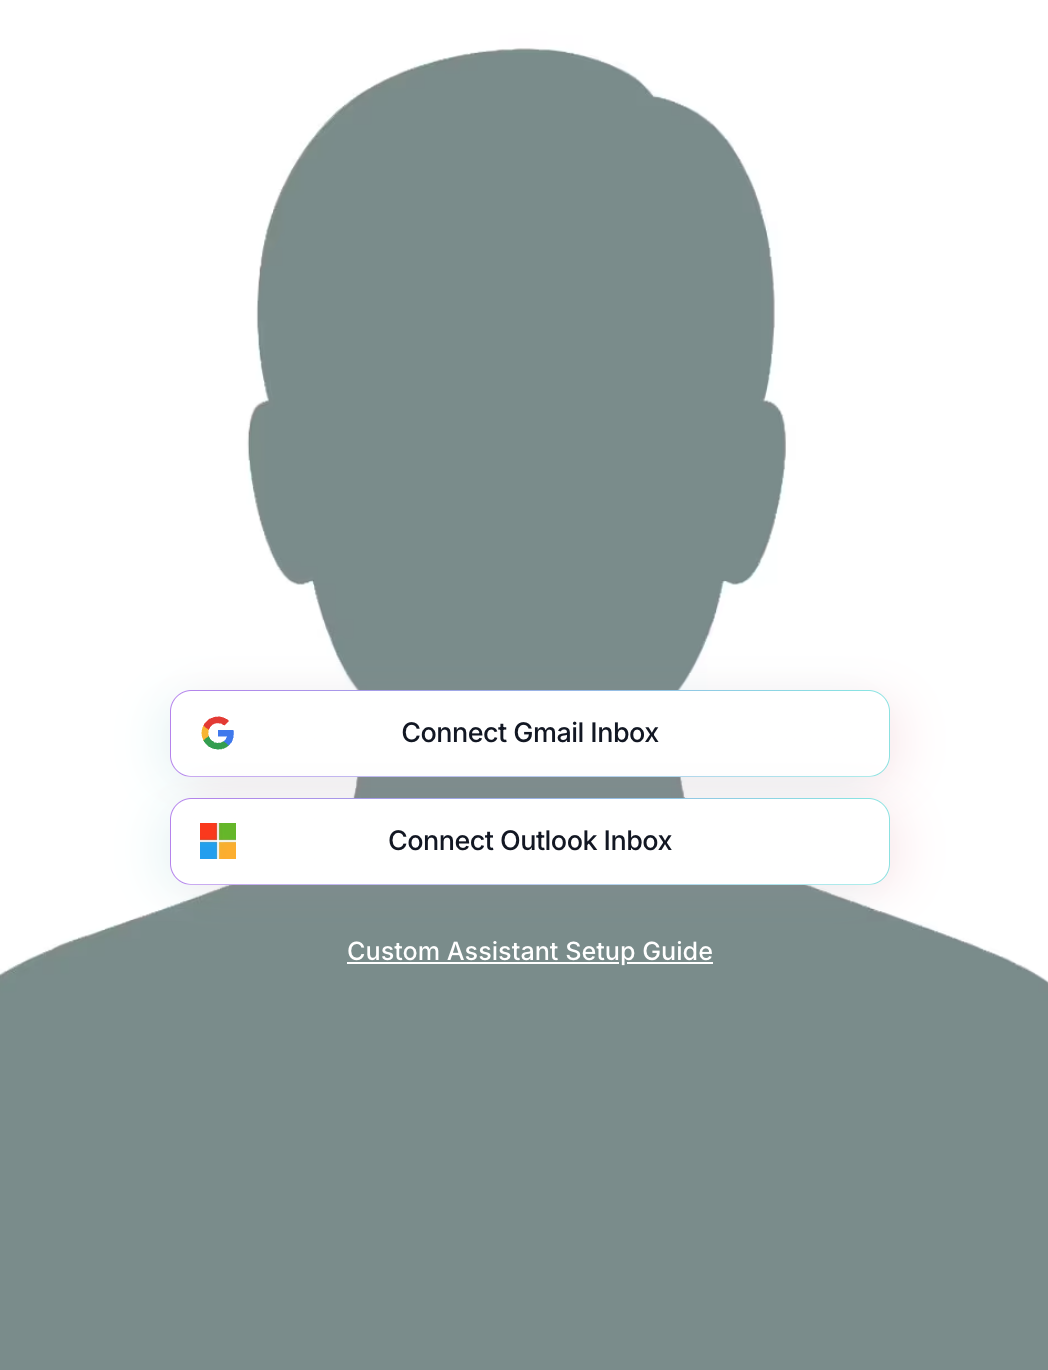
Enter the credentials and authorize the permissions needed in order for Skej to read and send emails from your new custom inbox.
Step 5: Customize personality and email signature
If you choose to do so, you can customize your assistant's personality and/or email signature with the rich HTML signature editor.
Step 6: You're all set
That's it — your new assistant is set up. You can now email your new Custom Assistant at the custom email address and use it just like you would use Skej otherwise. You should address your Custom Assistant by their new name.
Disclaimer and warning
Once the Google/Microsoft account is set up, you will not ever need to access that email inbox again. Never manually send emails from that email address or impersonate Skej.
If we are notified that there are emails being sent manually from that inbox, we will immediately terminate the connection to the account and may terminate your Skej account.